7 TIPS FOR A SMOOTH LINK BETWEEN REVIT AND ENSCAPE
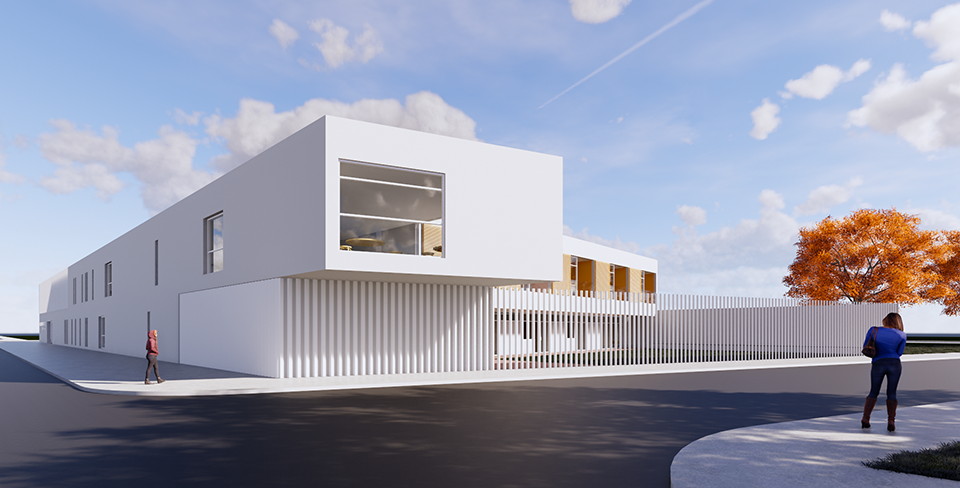
Enscape rendering by a Revit Pure reader: Casar de Cáceres by Antonio Aramburu
Enscape has been my favorite Revit rendering plugin for a while. In 2017, I wrote a post describing what makes this software so compelling. In one word: simplicity. Being able to create a rendering in a few minutes is a huge advantage. Designers don’t have to outsource the rendering process anymore. Since 2017, Enscape has become even better.
While using Enscape with Revit is simple, there are some principles you should follow to keep a precise and efficient workflow. Here are the lessons and tips I’ve learned among the years to create a smooth visualization experience.
1- Properly set up the site Location And True North To Get Accurate Natural Lighting
If you want to use natural lighting that fits your site, go to the Manage tab and click on Location. Type the address you are looking for and Revit will select the closest weather station.
After setting your geographic location, you need to set the True North in relation to the Project North. Go to a view where the Project Base Point is visible, most likely in your Site Plan. Select the Project Base Point and set an angle value. In the view properties, change the Orientation option from Project North to True North. You can verify if the angle is correctly set.
Alternative: It is also possible to adjust the north of a Revit model by properly linking on a site model and using the Shared Site feature. Here is the complete procedure to do so.
Finally, when your geographic location and true north are set, you still need to activate these settings in the view you will be using in Enscape. Go to the Graphic Display Options of a 3D view. Go to the lighting submenu and click on <In-session, Lighting>.
Then, make sure to select the Still option. You can select a date. The time of the day doesn’t matter since it can be adjusted in Enscape anyway.
2- Properly Manage ASSETS VISIBILITY
What is great about Enscape is that you have a vast library of elements that can be placed directly in your Revit model. However, you need to properly manage the assets to make sure they don’t interfere with the construction documents. There are a couple of ways to properly manage the visibility of these assets.
The first is to create a specific workset for assets. Worksets are only available when worksharing is enabled in your model. In the example below, we create a workset called A-Renderings. All assets from Enscape are placed in this new workset.
Once all the Enscape assets are in the proper workset, go to the Worksets menu. Uncheck “Visible in all views”. Assets will be made invisible by default in your entire model.
Finally, you must activate the visibility of this workset on the 3D view you will be using inside of Enscape.
This way, Enscape assets like trees, furniture and people will only show up in this specific 3D view.
In some large and complex projects, you should consider creating a linked model with all assets to be even more cautious.
3- Clean The Weird Geometry Joints
To avoid flickering or artifacts when rendering, you have to make sure your model is perfectly clean and that there is no overlapping surfaces. Else, you’ll get results like in this image.
In the example below, we clean the joint between the floor and the wall by either using the join tool or by adjusting the wall position.
4- Set A Phase Filter Without Overrides
Some users create renderings only to find out that some elements don’t use the material they are supposed to. Most of the time, this issue is caused by a wrong Phase Filter set in the 3D view used for renderings. As you see in the image below, a phase filter with overrides will use a specific material for all elements in a given phase status.
In almost all cases, the phase filter should contain no Overridden material styles. The Show Complete filter is usually your best option.
5- Turn Off Elements That Are Not Required
To improve the performance and speed of the rendering, go to the Visibility/Graphics (shortcut: VG) menu and uncheck all elements that are not required in your project. One thing to pay attention to are Imported Categories and DWGs files. Make sure they are turned off, unless they are part of the geometry you want to render.
6- Model In Native Revit Geometry As Much As You Can
While it is possible to import DWG and Rhino files into Revit, it is much harder to control the behavior of materials. Use Revit native geometry as much as you can.
If you are really forced to use DWG files for some elements (like furniture), at least try to use the “Set ByLayer” tool before importing. This will allow you to assign custom materials.
7- Use the “Tint” features in the material panel to quickly adjust the color of a texture
One thing I love about Enscape when compared to many rendering plugins is that you can use the Tint tool in the Revit material menu. This feature allows you to modify the color of a texture image.
In the example below, you can see we use a white wood siding as a texture image.
Let’s say you want to use the same image for a black wood siding? In the material menu, go to the Tint menu. Set a black tint color.
This way, you can quickly adjust the color of a material using a texture image without having to modify the image.
If you follow these guidelines, linking Revit and Enscape together will always be a smooth and pleasant experience. Enjoy your visualizations!


